
Posting consistently on LinkedIn is the key to building a B2B audience. But logging in every single day to manually upload a PDF document and write a caption is inefficient. Scheduling your LinkedIn carousel posts allows you to batch your content creation, ensuring you stay visible even when you are busy with client work or meetings.
What you need to know
Need content to schedule?
>
How to schedule a carousel (Using a Third-Party Tool)
Because native LinkedIn scheduling for PDFs is inconsistent (often rolling out to some accounts and disappearing for others), the most reliable workflow involves a dedicated social media management tool.
Step 1. Export your carousel as a PDF
Unlike Instagram, where you upload separate JPG or PNG images, LinkedIn requires a single file to create the swipeable slider effect. Export your finished presentation or design as a multi-page PDF.
Step 2. Open your scheduling platform
Log into a platform that supports LinkedIn document scheduling (e.g., Buffer, Taplio, or Hootsuite). Select your connected LinkedIn personal profile or Company Page.
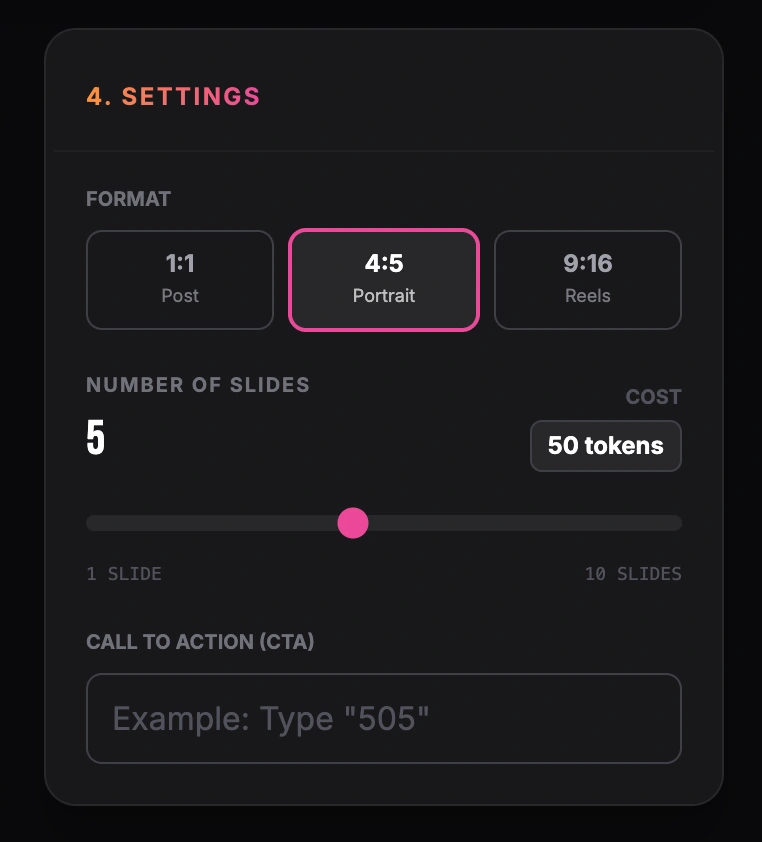
Setting format, number of slides and call to action
Step 3. Upload the document
Look for the attachment icon (often a paperclip or a specific "Document" icon, rather than the standard "Image" icon). Select the PDF file from your computer.
Step 4. Write your caption and hook
Add your caption. The first two lines are critical because LinkedIn truncates the rest of the text with a "see more" button. Make sure your hook tells the reader exactly what they will learn by swiping through the PDF.
Step 5. Pick the date and time
Select the calendar icon, choose your optimal posting time, and hit "Schedule."
Not sure what to post? Browse our 50 LinkedIn Carousel Ideas for proven formats.
Best Practices for Scheduled Carousels
Engage immediately
Scheduling a post doesn't mean you can ignore it. Try to be online when the post goes live. Replying to comments in the first 30-60 minutes significantly boosts the algorithm's reach.
Check the preview
Always preview how the first slide of your PDF will look in the feed. Ensure the title is large and legible on mobile screens.
Tag strategically
If you mention other professionals or companies in your carousel, tag them in the caption before you schedule it. This alerts them to the post and increases the chances of them engaging with it.
Common Scheduling Mistakes
Uploading a zip file or images
If you upload 10 JPGs to a scheduler, LinkedIn will post them as an awkward grid collage, not a swipeable slider. Always upload a single PDF file.
Forgetting the CTA
A scheduled post still needs a goal. Make sure the final slide of your PDF tells the user what to do next: "Connect for more," "Sign up for the newsletter," or "Leave a comment."
A consistent posting schedule requires a streamlined workflow. If you are spending hours trying to format slides in design software, scheduling won't save you much time. Using GoToFlow, you can instantly convert your rough notes or blog posts into a finished, professional PDF carousel. Once generated, you simply download the file and drop it into your scheduling tool to maintain your LinkedIn presence on autopilot.